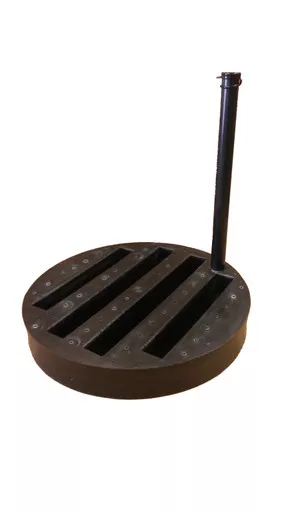
Sub-irrigation Unit
Original price was: $68.80.$42.05Current price is: $42.05.
Description
Description
Turn any planter into a self-watering planter
Everyone struggles to keep their containers looking their best and keeping them watered properly is key. The Riverside Sub-Irrigation units allow you to install a water reservoir in your container to extend the time between watering. These units will fit any container, not just Riverside. Spend time on other projects and less time watering your plants.
Round
| SKU | Diameter | Height | Capacity |
| SIU14 | 14″ | 3.5″ | 1.5 gal |
| SIU18 | 18″ | 3″ | 2.5 gal |
| SIU20 | 20″ | 3.5″ | 3.5 gal |
| SIU24 | 24″ | 3.5″ | 4.5 gal |
| SIU28 | 28″ | 3.5″ | 6.5 gal |
| SIU32 | 32″ | 3.5″ | 8 gal |
| SIU36 | 36″ | 3.5″ | 10 gal |
| SIU48 | 48″ | 3.5″ | 19 gal |
Square
| SKU | Length | Width | Height | Capacity |
| SIUSQ12 | 12″ | 12″ | 3″ | 1.5 gal |
| SIUSQ16 | 16″ | 16″ | 3″ | 2.5 gal |
| SIUSQ23 | 23″ | 23″ | 3″ | 5.5 gal |
Rectangular
| SKU | Length | Width | Height | Capacity |
| SIUR19 | 19″ | 8″ | 3″ | 1.5 gal |
| SIUR25 | 25″ | 8″ | 3″ | 2 gal |
| SIUR31 | 31″ | 8″ | 3″ | 2.5 gal |
All filler tubes are 24″ long and can be cut to fit your planter needs.
Here’s a more polished, professional version you can use on your product page or installation sheet:
Riverside Installation Recommendations
For best performance and long-term plant health, please follow the installation steps below:
Step 1: Prepare the Base
Add a layer of gravel or similar drainage material to the bottom of the planter. Fill to your desired depth to create a stable drainage foundation.
Step 2: Install Filter Layer
Place a sheet of filter cloth (landscape fabric or weed barrier) over the gravel layer. This prevents soil from migrating into the drainage base while allowing proper water flow.
Step 3: Position the Reservoir
Set the reservoir on top of the filter cloth. Install the fill tube and secure the cap in place.
Step 4: Add Soil Mix
Add your soil mixture around and over the reservoir, filling the planter to your desired height. Gently firm the soil as you go to eliminate air pockets.
Step 5: Adjust Fill Tube
Trim the fill tube to the appropriate height for your planter configuration.
Step 6: Planting
Position your plant material as desired and finish filling the planter with soil mix, ensuring proper coverage and support for root systems.
Step 7: Watering & Reservoir Fill
Thoroughly water the soil from above to help settle the planting mix. Then, fill the reservoir through the fill tube until full. Monitor and refill the reservoir as needed to maintain optimal moisture levels.
Related products
-
Scotts Evergreen, Flowering Tree, & Shrub Plant Food 3lb
Original price was: $4.79.$2.40Current price is: $2.40. -
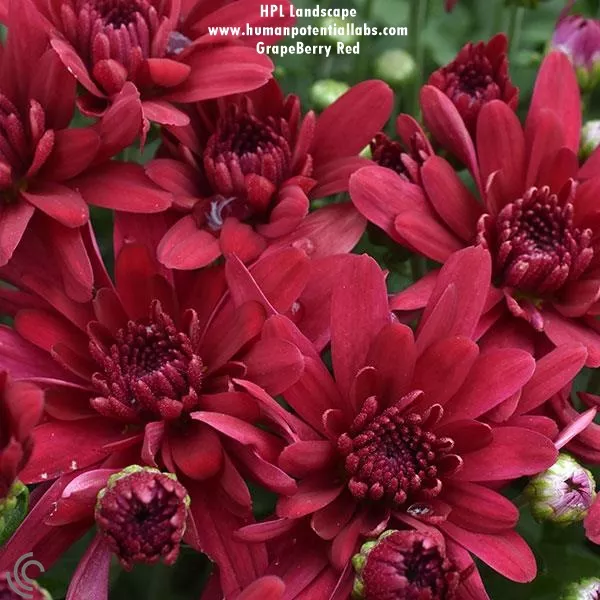
ChrysanthemumsMums “Grapeberry Red”
Original price was: $12.00.$9.03Current price is: $9.03. -
Miracle-Gro Shake ‘n Feed Tomato, Fruit & Vegetable Plant Food 4.5lb
Original price was: $15.99.$10.70Current price is: $10.70. -
Miracle-Gro Water Soluble All Purpose Plant Food 1LB
Original price was: $7.19.$3.96Current price is: $3.96. -
Scotts Rose & Bloom Plant Food 3lb
Original price was: $4.79.$2.99Current price is: $2.99. -
DicentraBleeding Heart”Gold Heart”
Original price was: $14.80.$11.05Current price is: $11.05. -
ChrysanthemumMums “Mumosa”
Original price was: $12.00.$6.69Current price is: $6.69.